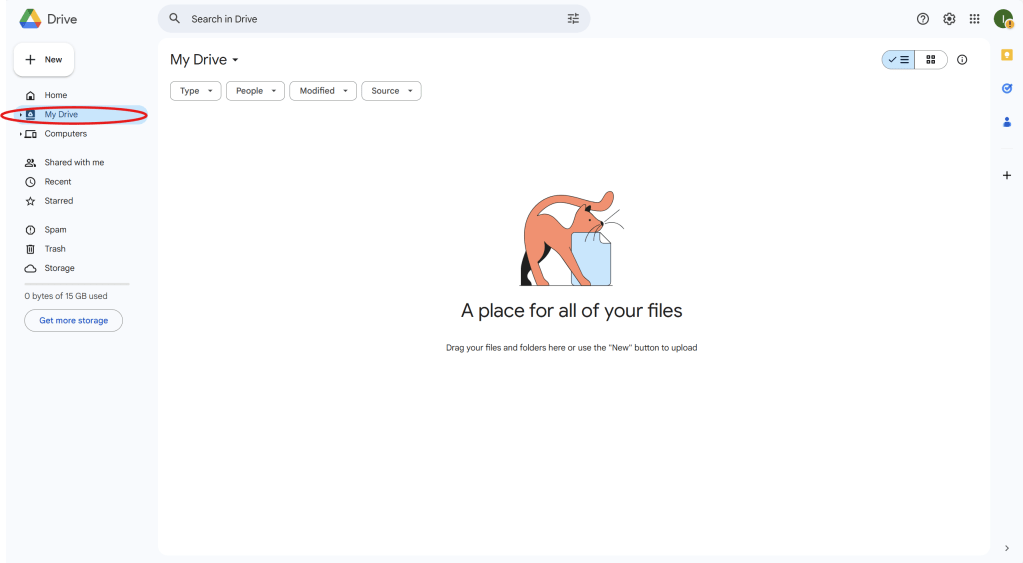
Step 1: Access Google Drive
- Open a web browser and go to Google Drive.
- Log in with your Google account (or create one if you don’t have an account).
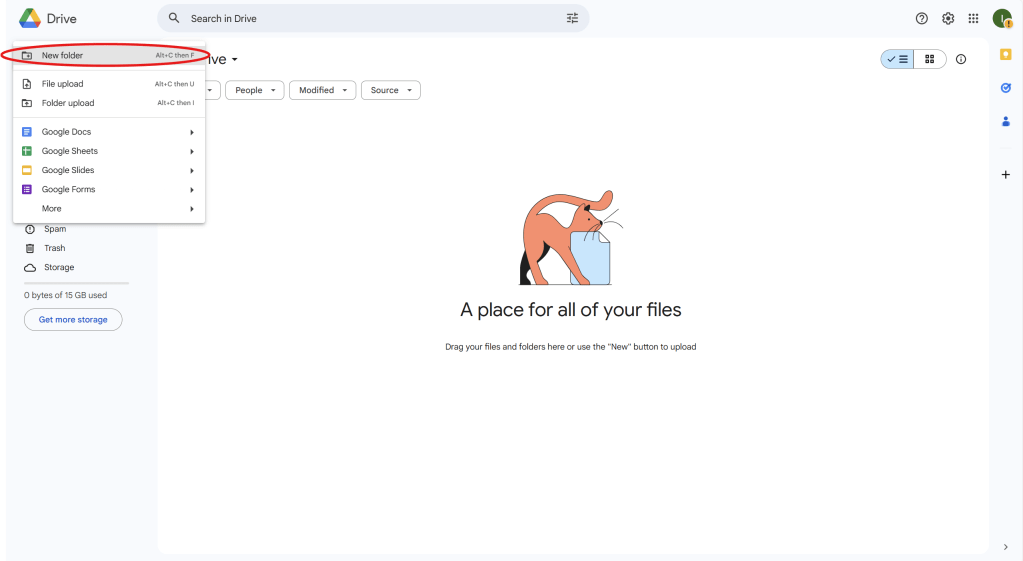
Step 2: Create a New Folder
- Once you’re in Google Drive, click on the “New” button on the left side.

- Select “Folder” from the dropdown menu.
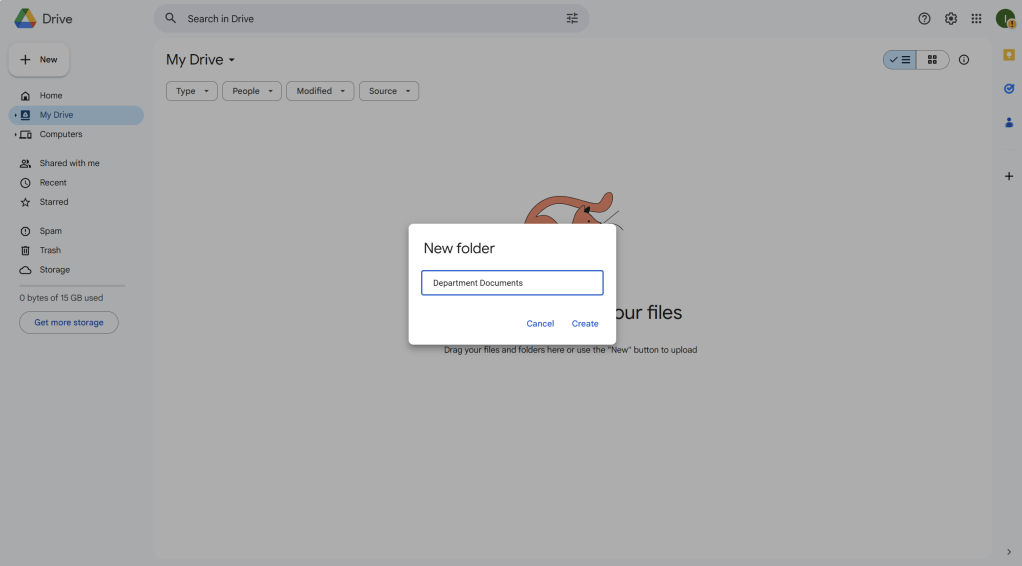
- Name the folder (e.g., “Department Documents” or “Project Files”) and click “Create.”
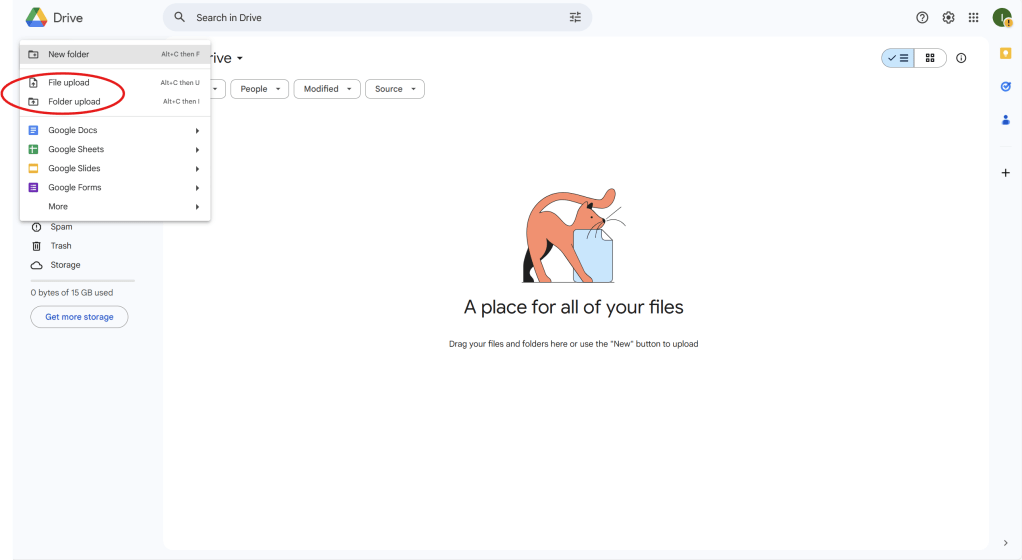
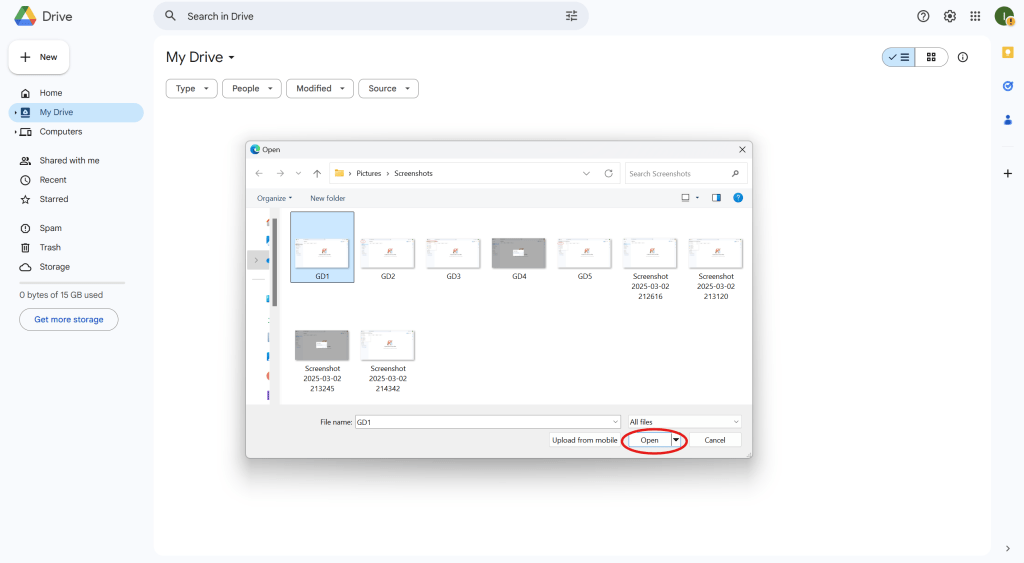
Step 3: Upload Files to Google Drive
- To upload files, click the “New” button again.

- Select “File Upload” or “Folder Upload” depending on what you want to upload.
- Choose the file(s) from your computer and click “Open” to start the upload.
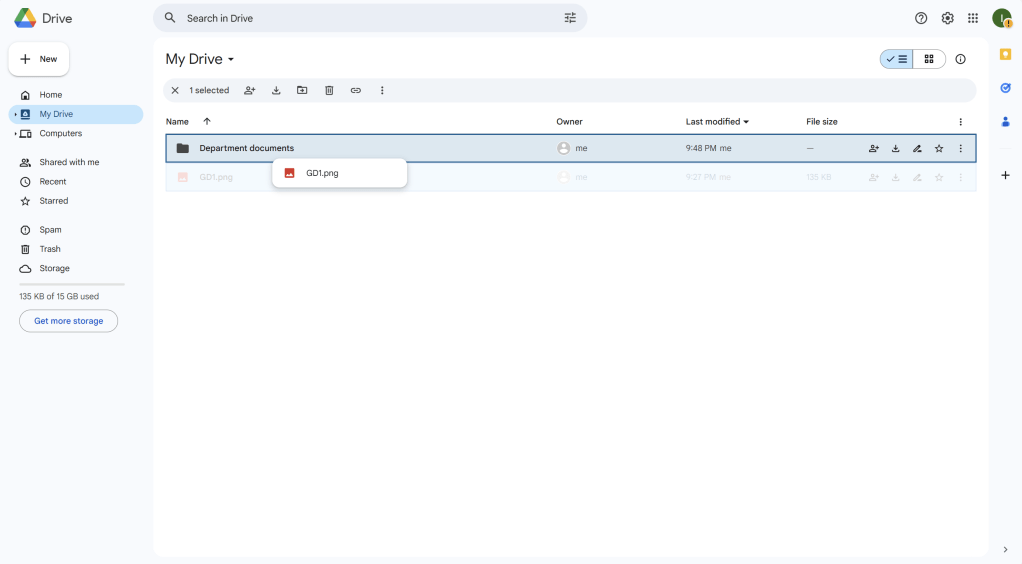
Step 4: Organize Files Within Folders
- After uploading files, you can drag and drop them into the appropriate folders.
- Click and hold the file, drag it into the folder on the left side of the screen, and release it to move the file.
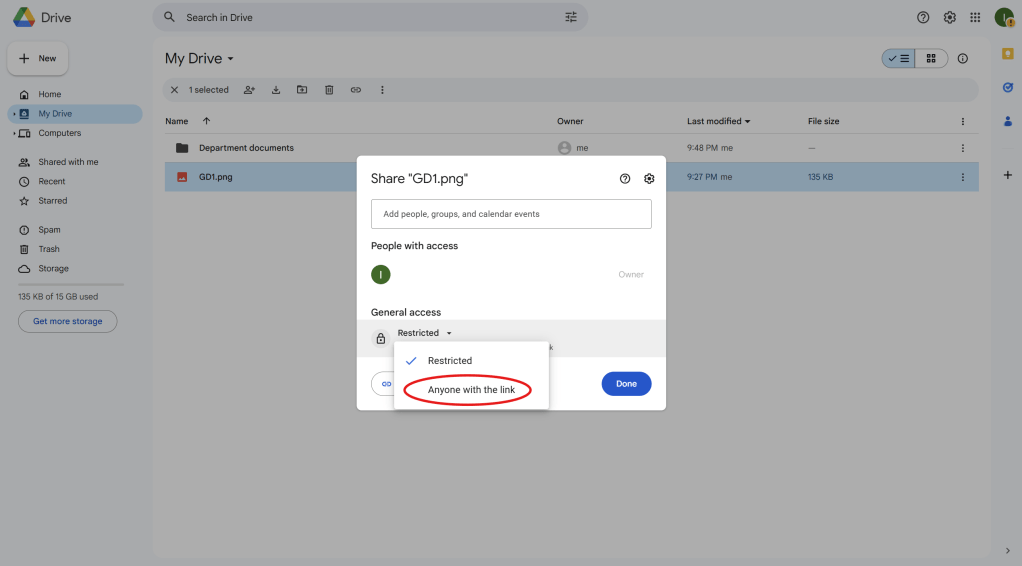
Step 5: Share Files and Folders
- Right-click on the file or folder you want to share.
- Click “Get link” or “Share.”
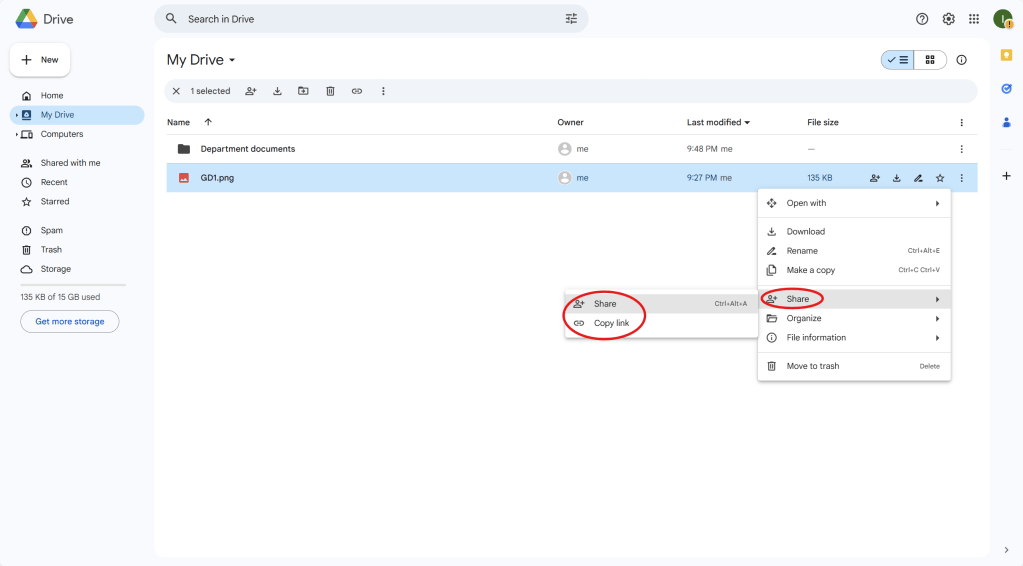
- In the sharing settings, select the permissions (Viewer, Commenter, Editor) and choose who can access the file.
- You can either enter specific email addresses or click “Copy Link” to share with anyone who has the link.
Step 6: Collaborate in Real-Time
- When others have access to the file, they can edit, comment, or view it depending on the permissions set.
- You’ll see updates in real-time as others make changes.
- You can also leave comments by right-clicking on specific parts of the document (for Google Docs, Sheets, etc.).
Step 7: Organize Folders by Department, Grade Level, or Project
- To keep things organized, you can create folders for specific departments, grade levels, or projects.
- Simply create a new folder following the steps in Step 2 and name it appropriately.

