Asana is a powerful tool for task tracking, team collaboration, and workload management, especially in school projects. Here’s what you can do with Asana:
- Task Tracking: Create tasks, set deadlines, and assign them to team members.
- Task Dependencies: Set tasks that depend on others to ensure proper sequencing.
- Team Collaboration: Use comments, file attachments, and updates to keep everyone informed.
- Workload Management: Use the Workload view to track and balance team members’ capacity.
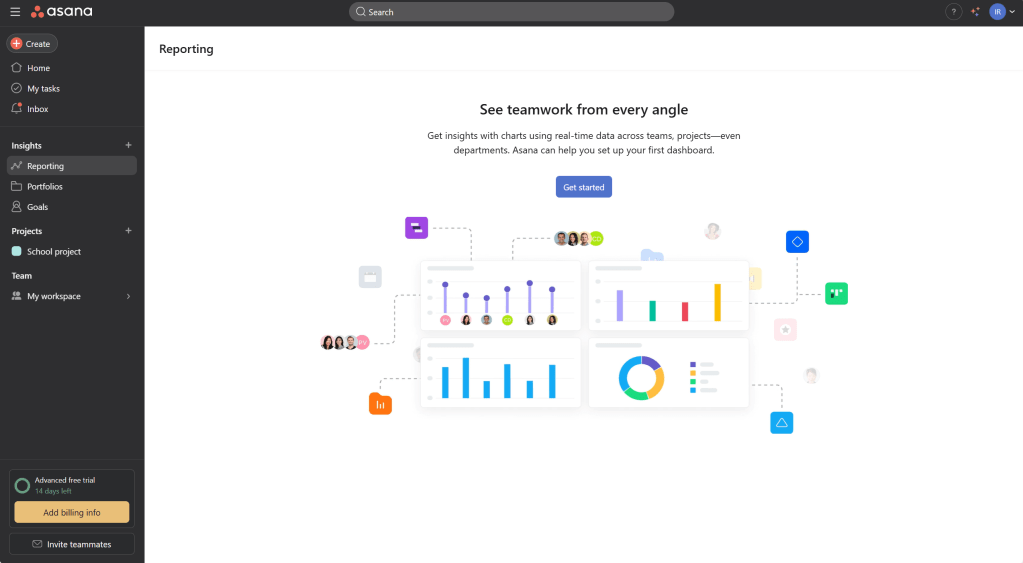
Step 1: Sign Up for Asana
- Visit Asana’s Website:
Go to Asana’s website and click Get Started to sign up for an account. - Create an Account:
You can sign up with your email address, Google, or Microsoft account. - Create a Workspace or Organization:
After signing up, create a workspace or organization. For example, you could create one called “School Projects” to organize all your school-related tasks and projects.
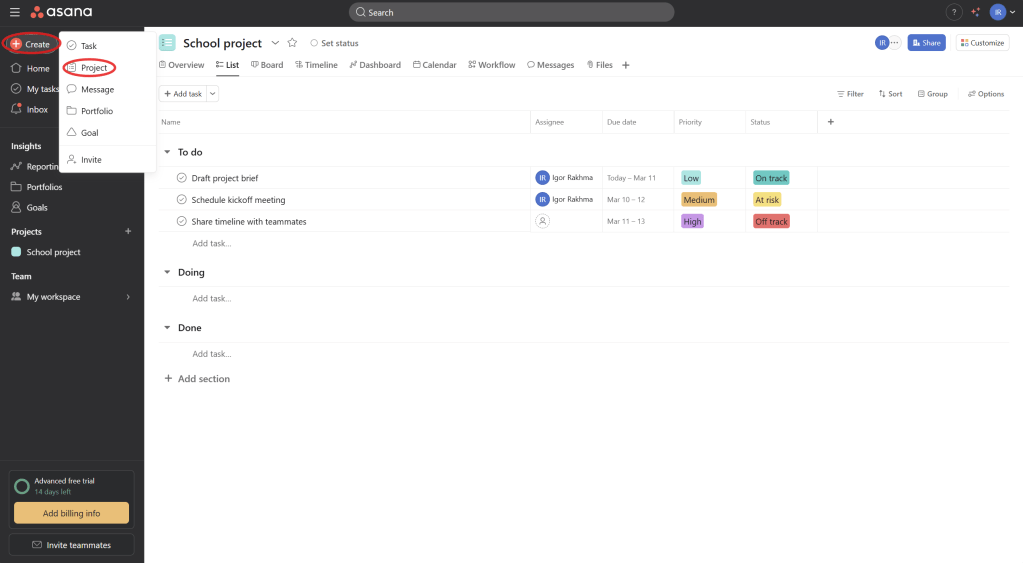
Step 2: Create a New Project
- Create a Project:
Once logged in, click the + New Project button on the left sidebar. You can choose from a Blank Project, Template, or Use List View. - Choose a Project Layout:
- List View: Shows tasks in a list format, ideal for detailed to-do lists.
- Board View: A Kanban-style board that allows you to drag and drop tasks between columns (To Do, In Progress, Completed).
- Set Project Name:
Name the project according to your task or goal (e.g., “Parent-Teacher Conference Planning,” “Curriculum Development”). - Set Privacy Settings:
Choose whether the project should be private (visible only to invited members) or public (visible to everyone in the organization).
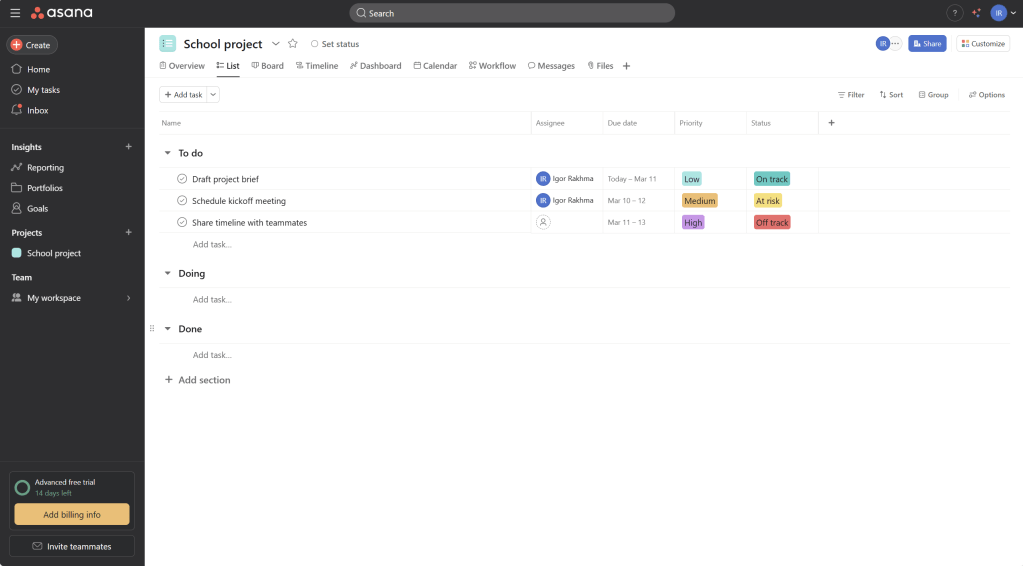
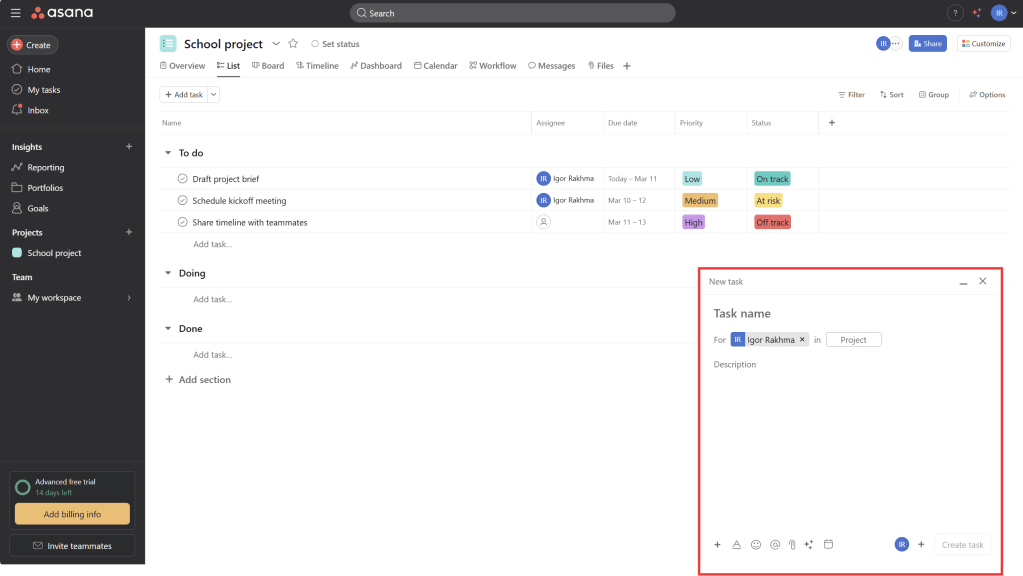
Step 3: Add Tasks to Your Project
- Create Tasks:
Within the project, click on Add Task to create individual tasks. You can give each task a descriptive title (e.g., “Send Invitations for Parent-Teacher Conference”). - Assign Tasks:
Assign each task to a specific team member by clicking on the Assignee field within the task. You can assign multiple people if necessary. - Set Deadlines:
Add deadlines by clicking on the Due Date field in each task. This helps ensure that everyone stays on track with timelines. - Add Task Details:
For each task, you can:- Add descriptions to explain the task further.
- Attach files (e.g., documents, presentations) related to the task.
- Add subtasks for breaking down the main task into smaller, actionable items.
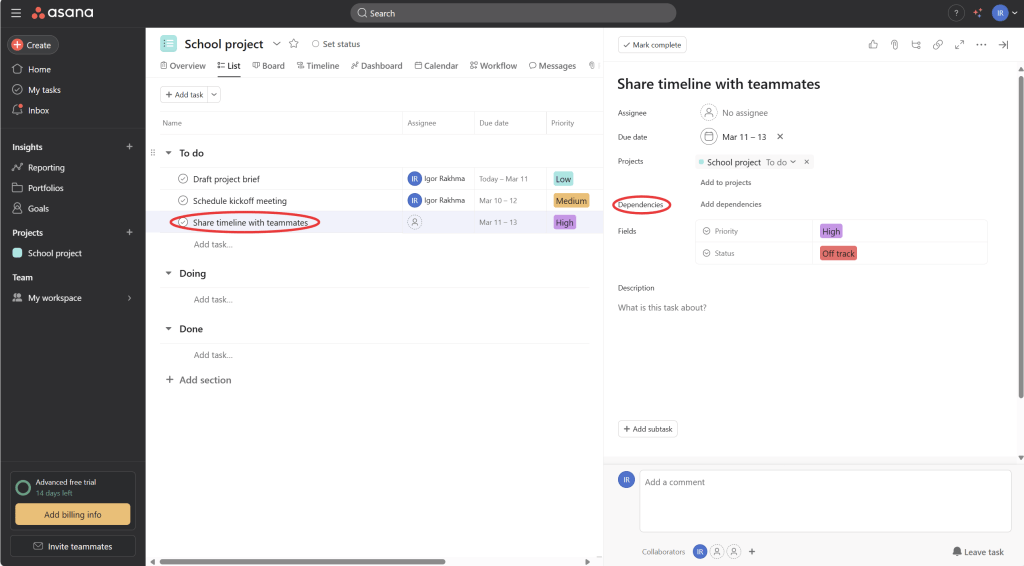
Step 4: Using Task Dependencies
- Set Dependencies:
Asana allows you to set dependencies to ensure that one task is completed before another starts. This feature is helpful when tasks are linked (e.g., “Prepare materials for the conference” needs to be done before “Send materials to parents”). To set a dependency:- Click on a task.
- In the Task Details, click Dependencies and select the task that must be completed first.
Step 5: Monitor Progress with Project Timelines
- Use Timeline View:
In Asana, you can switch to the Timeline View to visualize the schedule of your project. This Gantt chart-like view allows you to see the start and end dates for each task, helping you manage deadlines and avoid overloading team members. - Track Task Progress:
As tasks are worked on, team members can update the task status (e.g., In Progress, Completed). You can also track progress visually by checking off completed tasks or moving tasks from “To Do” to “In Progress” and then to “Completed.” - Add Comments:
Team members can leave comments within tasks to communicate updates, share ideas, or ask questions. This keeps everyone in the loop.

Step 6: Manage Team Workload
- Access the Workload View:
Asana’s Workload feature allows you to track and manage your team’s capacity, ensuring tasks are evenly distributed.- To use the Workload View, go to the Reports section, then click Workload.
- View Team Member Capacity:
In the Workload view, you can see how many tasks are assigned to each team member, along with the number of hours or due dates associated with each task. This helps prevent overburdening any one person. - Balance Tasks Across Team Members:
- If one team member has too many tasks, you can reassign some of them to others, helping balance the workload more effectively.
- You can also see which tasks are due soon and which are overdue.
Step 7: Reporting & Monitoring Team Performance
- Use Reporting Tools:
Asana provides built-in reporting tools to track the progress of your tasks and project goals. Reports can be created based on:- Task completion rate
- Due date adherence
- Project milestones
- View Task Completion Rates:
Use reports to see how quickly your team is completing tasks and if any delays are happening. This helps with making adjustments to the timeline or resource allocation.
Step 8: Review & Mark Tasks as Complete
- Review Tasks:
Go over the completed tasks with your team and ensure all required actions are done. If any tasks are incomplete or need follow-up, you can reassign or adjust deadlines. - Close the Project:
Once all tasks are completed, close the project by archiving it. This keeps your workspace organized and allows you to start new projects without clutter.
